
How to Create a Research Assistant with Claude and Obsidian
Don't want to figure this out alone? I walk members through every step inside the community. Join the Skool → skool.com/raycfu
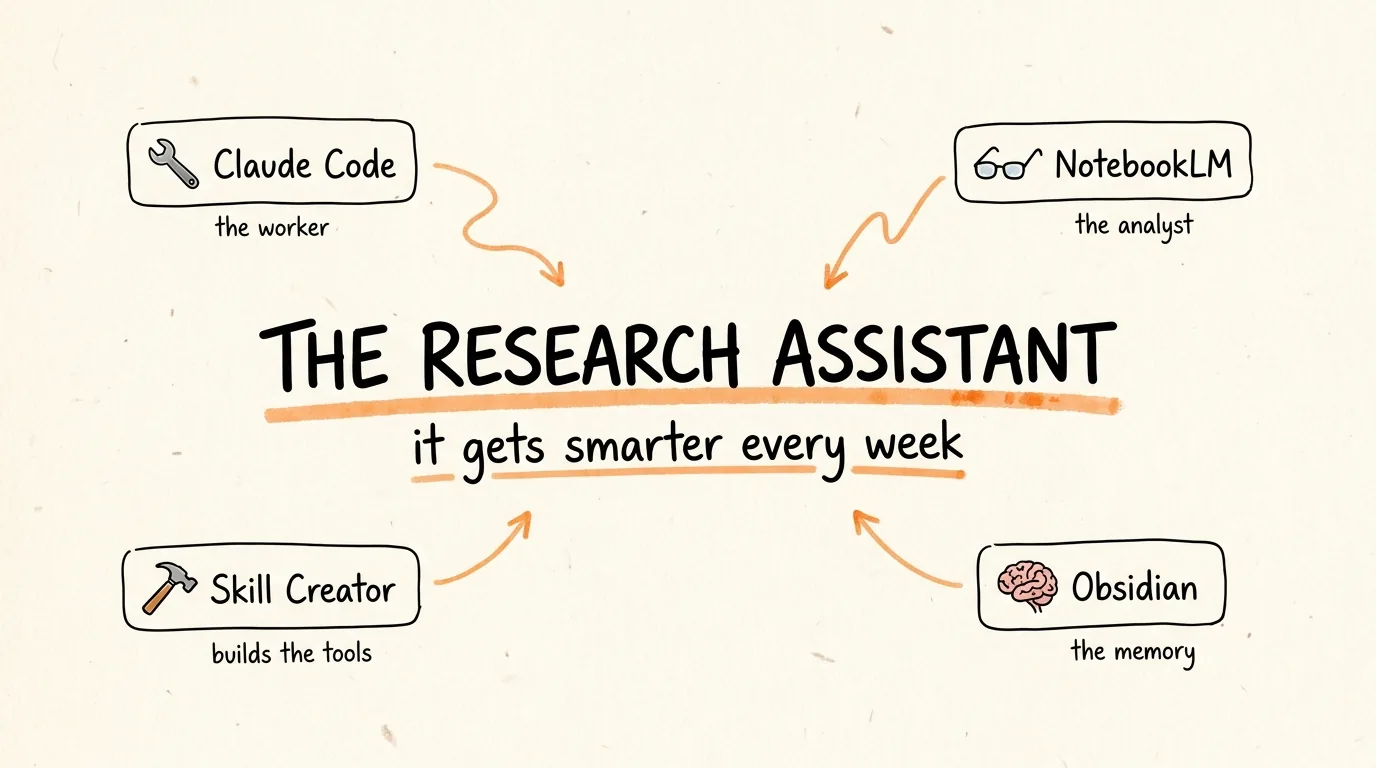
You are going to build a research system where Claude Code does the work, NotebookLM does the heavy reading on Google's servers, and Obsidian remembers everything forever. One command researches any topic, builds a notebook of sources, runs the analysis, and files the results into your personal library. And once a week, the system studies how you work and rewrites its own instructions, so it genuinely gets smarter the longer you use it.
What You Need
Four pieces, each with one job. Claude Code is the worker, it runs commands and manages the whole pipeline, you talk to it in plain English. NotebookLM is the analyst, Google's free research tool that reads your sources and produces deep analysis, and because it runs on Google's servers it is not burning your Claude usage. The Skill Creator is a Claude Code plugin that lets you build reusable tools just by describing them, no programming. And Obsidian is the memory, a free notes app that stores every piece of research as a plain file on your computer, no cloud, no lock-in.
Step 1: Install Claude Code and the Skill Creator
Install Claude Code from code.claude.com, one command in your terminal. Then open it and run:
/plugin
Search for skill-creator, install it, exit Claude Code, and restart it. You now have the ability to create any tool by describing it in plain language. That single plugin is what makes every step below possible.
Step 2: Set Up Obsidian as the Memory
Download Obsidian from obsidian.md, it is free. Open it and create a new vault, which is just a folder on your computer, put it somewhere in Documents. Then open Claude Code inside that vault folder and paste:
Create this folder structure for my knowledge base:
- raw/ - this is my inbox where I'll dump source material
- wiki/ - this is your domain, you'll write and maintain everything here
- Create a _master-index.md inside wiki/ with the heading "Knowledge Base Index" and a note that says "Topics will be listed here as they are created."
- output/ - this is where query results and reports go
Just create the folders and that one file. Nothing else yet.
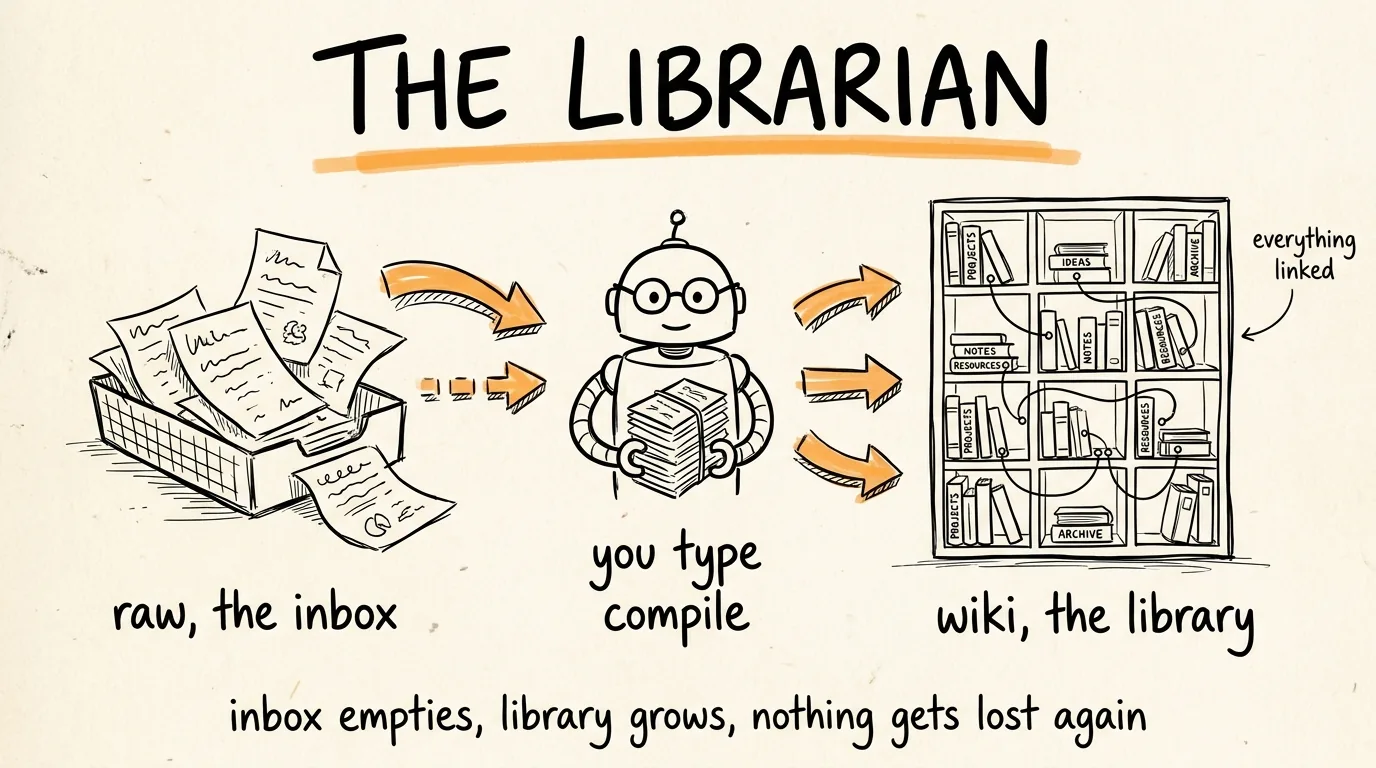
Three folders, three jobs: raw is the inbox where research lands, wiki is the library Claude organizes, output is where finished reports go.
Now the most important file in the whole system. Create a file called CLAUDE.md in the root of the vault and paste this rulebook, Claude Code reads it automatically at the start of every session:
This file tells you how to maintain this knowledge base across every session.
## Knowledge Base Rules
- This is an LLM-maintained knowledge base. You are the librarian.
- The wiki/ folder is YOUR domain - you write and maintain everything in it.
- raw/ is the inbox. When I dump files here, you process them into the wiki during a "compile" step.
- wiki/_master-index.md is the entry point. It lists every topic folder with a one-line description. Always keep this up to date.
- Each topic gets its own subfolder in wiki/ with its own _index.md listing all articles in that topic.
- Always use [[wiki links]] to connect related concepts across topics.
- When compiling raw material: read the raw file, decide which topic it belongs to or create a new one, write a wiki article with key takeaways and relevant links, update that topic's _index.md, then update wiki/_master-index.md. If a file spans multiple topics, create articles in both and cross-link.
- Keep articles concise. Include a ## Key Takeaways section in every wiki article.
- When answering questions, read _master-index.md first to navigate, then drill into the relevant topic _index.md, then read specific articles.
- When I say "compile", process everything in raw/ that hasn't been compiled yet.
- When I say "audit", review the wiki for inconsistencies, broken links, and gaps, and suggest improvements.
That file turns Claude from a clever assistant into a disciplined librarian that files everything the same way, every session, forever.
Step 3: Create the YouTube Skill
This skill lets Claude search YouTube and pull structured video data. Inside Claude Code, paste:
/skill-creator I want to create a skill that searches YouTube and returns structured video results. It should use yt-dlp to search for videos by query, return the top 20 results by default, and include metadata for each video - title, channel name, subscriber count, view count, duration, upload date, and URL. It should filter to the last 6 months by default but support a --months flag to change that. It should also calculate a views-to-subscribers ratio as an engagement metric. The output should be nicely formatted with dividers between each result and human-readable numbers.
Claude generates the skill, installs it, and confirms. One note: yt-dlp needs to be on your machine, and if it is not, just tell Claude Code "install yt-dlp for me" and it handles it.
Step 4: Connect NotebookLM
NotebookLM does not have an official public API, so we use an open source bridge called notebooklm-py. In a regular terminal window, not inside Claude Code, run:
pip install notebooklm-py
notebooklm login
A browser window opens, you log into your Google account, done. Now teach Claude Code how to use it. Back inside Claude Code, paste:
/skill-creator create a skill so we can best use the notebooklm-py tool. Reference the GitHub repo at github.com/teng-lin/notebooklm-py and build a skill that can: create new notebooks, add sources (YouTube URLs, text, files), run analysis on those sources, and generate deliverables including audio overview, mindmap, flashcards, and infographic.
Claude now has full control of NotebookLM, up to 50 sources per notebook, every deliverable type.
Step 5: Combine Everything Into One Pipeline
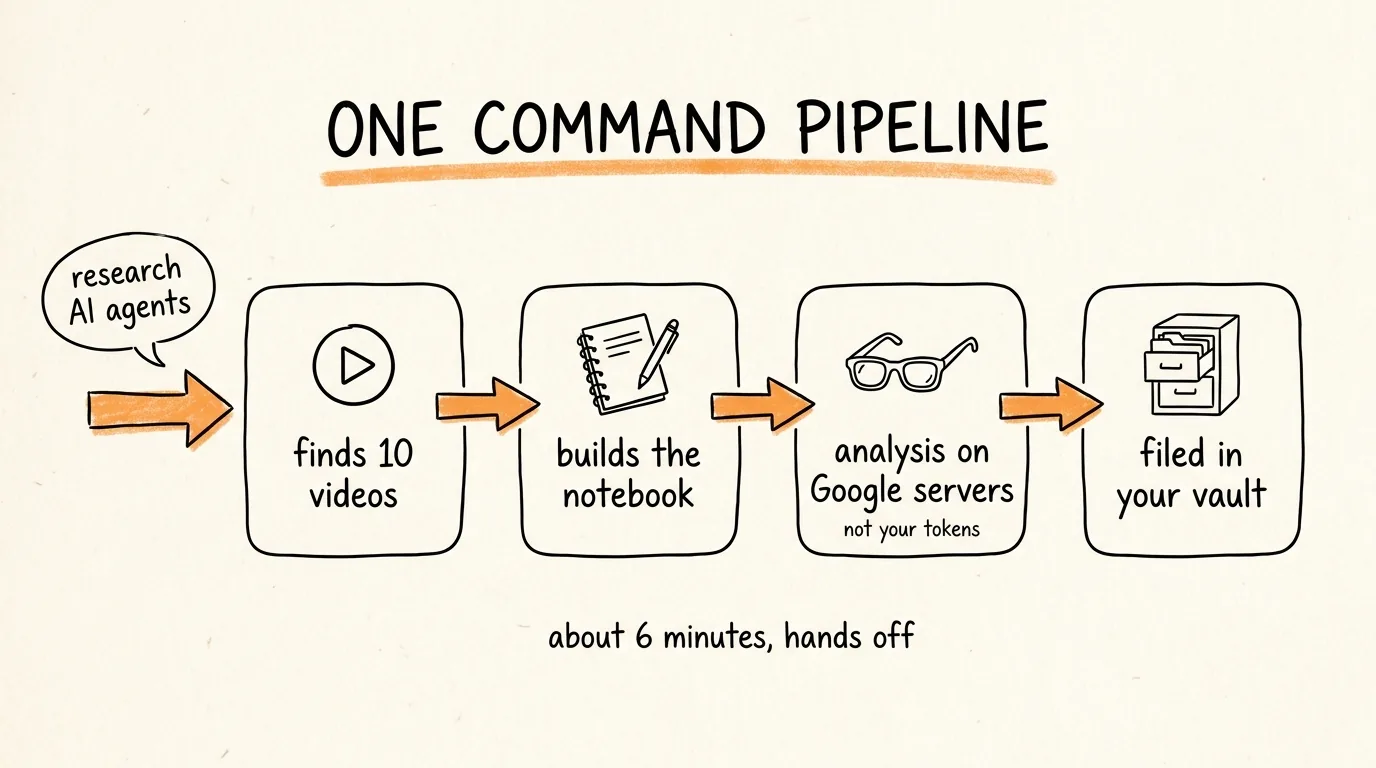
This is where it becomes a research assistant instead of a pile of tools. Instead of running the YouTube search, sending results to NotebookLM, and requesting analysis by hand, one skill does the whole chain. Paste:
/skill-creator I want to create a YouTube research pipeline skill that combines the yt-search skill and the NotebookLM skill. When I use this pipeline skill I want it to: take what I told it to research, go to YouTube and find 10 relevant videos using the yt-search skill, use the NotebookLM skill to create a new notebook, add those video sources to the notebook, then do analysis on the topic based on what I said when I invoked the skill. Furthermore ask me if I want a deliverable - NotebookLM can create flashcards, infographics, mindmaps, audio overviews. If I don't specify a deliverable assume none. After analysis bring everything back to me in a markdown file saved to the vault, and also show it in chat. Include all YouTube search metadata in the output - sources used, view counts, channel names, engagement ratios.
Now a full research session is one command. Here is a real example of what you type:
/yt-pipeline I want to research AI agent frameworks. Which frameworks are developers actually adopting? I want to understand what's driving views on this topic, where there's disagreement in the community, what the outliers are, and what angles haven't been covered well yet. Find 10 relevant sources, push them to a new NotebookLM notebook, run a full analysis, and generate an infographic showing the landscape.
Total processing time is around 6 minutes, and most of that is NotebookLM working on Google's servers, not your tokens. You get back a full analysis, the infographic, and a markdown file saved straight into your vault, structured and linked, ready to be found again in any future session.
Step 6: Make It Smarter Every Week
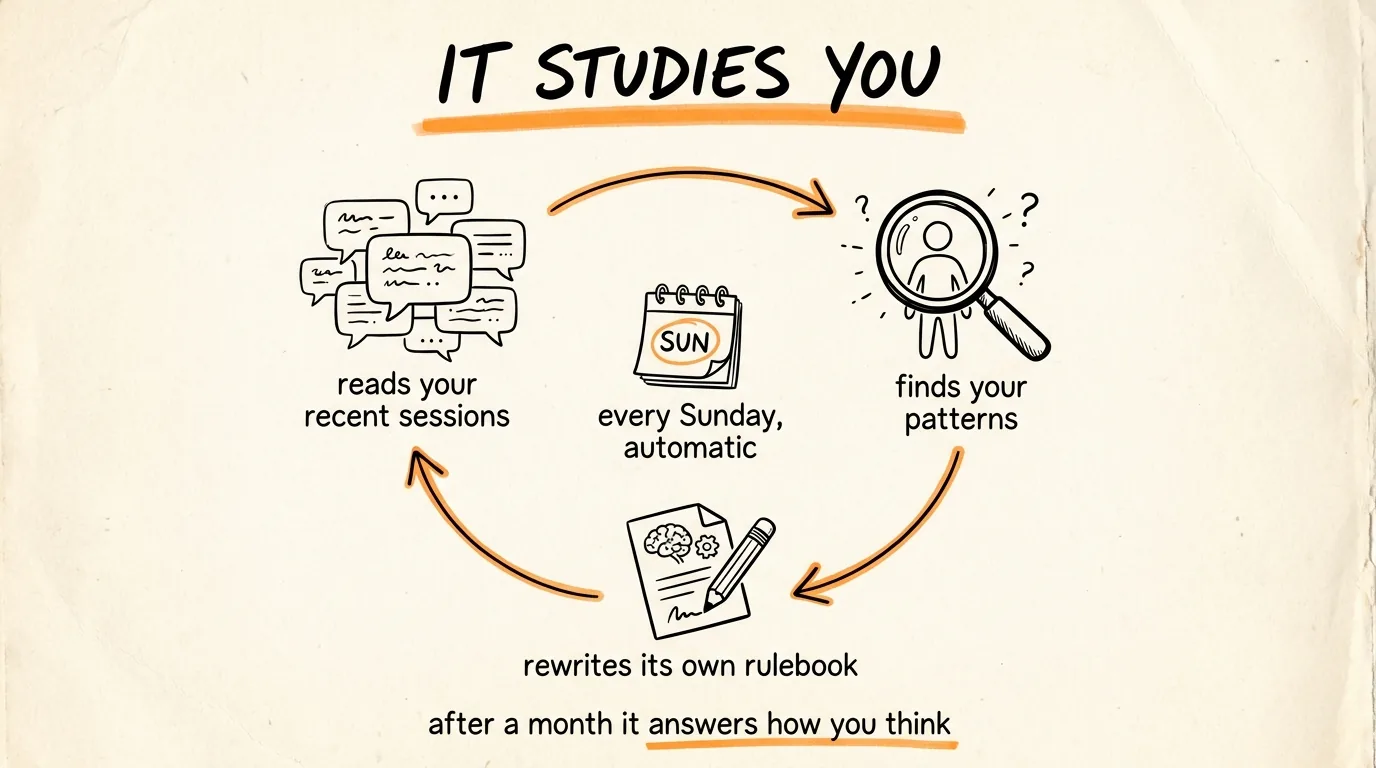
This is the part that separates this from every other research setup. Once a week, have the system study how you work and update its own rulebook. Paste this into Claude Code:
Can we update CLAUDE.md so it better reflects my work style, analysis approach, and output preferences based on our latest conversations? Read the recent session files in the vault, identify my patterns, what topics I return to, what analysis I found useful, what format I prefer, and rewrite the relevant sections of CLAUDE.md. Show me the changes before saving.
Then put it on a schedule so it happens without you: ask Claude Code to create a weekly scheduled task that runs that exact review every Sunday. After a month of this, outputs start matching what you actually want without long prompts. After a year, you have a research assistant that has absorbed hundreds of your sessions and works the way you think.
The Daily Workflow: Four Words
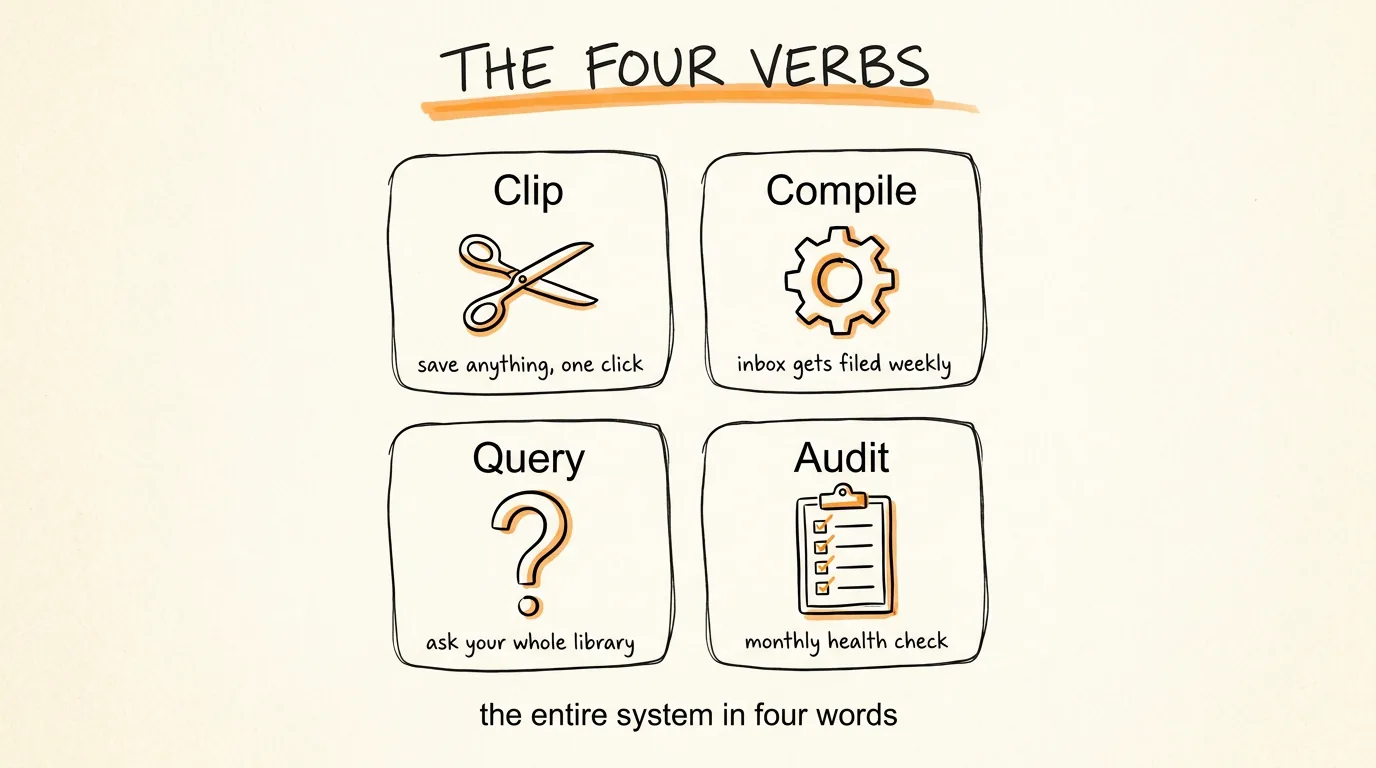
Once everything is set up, using the system is four verbs.
Clip. See something worth keeping anywhere on the web, save it into the raw folder. The free Obsidian Web Clipper browser extension does this in one click, point it at your vault with the note location set to raw.
Compile. Once a week, or when the inbox feels full, type "compile" and Claude reads everything in raw, summarizes it, files it by topic, links related ideas, and updates the indexes. Your inbox empties, your library grows.
Query. Ask the library anything. Simple lookups, cross-topic questions, or the power move that makes the system compound: "Based on everything in the wiki, what are the main bull and bear cases on [topic]? Save your answer as a new wiki article and link it to the sources you referenced." Every question you ask becomes a new note that future questions can build on.
Audit. Once a month, type "audit" and Claude walks the whole library, reports broken links, gaps, and inconsistencies, and you decide what to fix.
One More Thing: The Sources Are Swappable
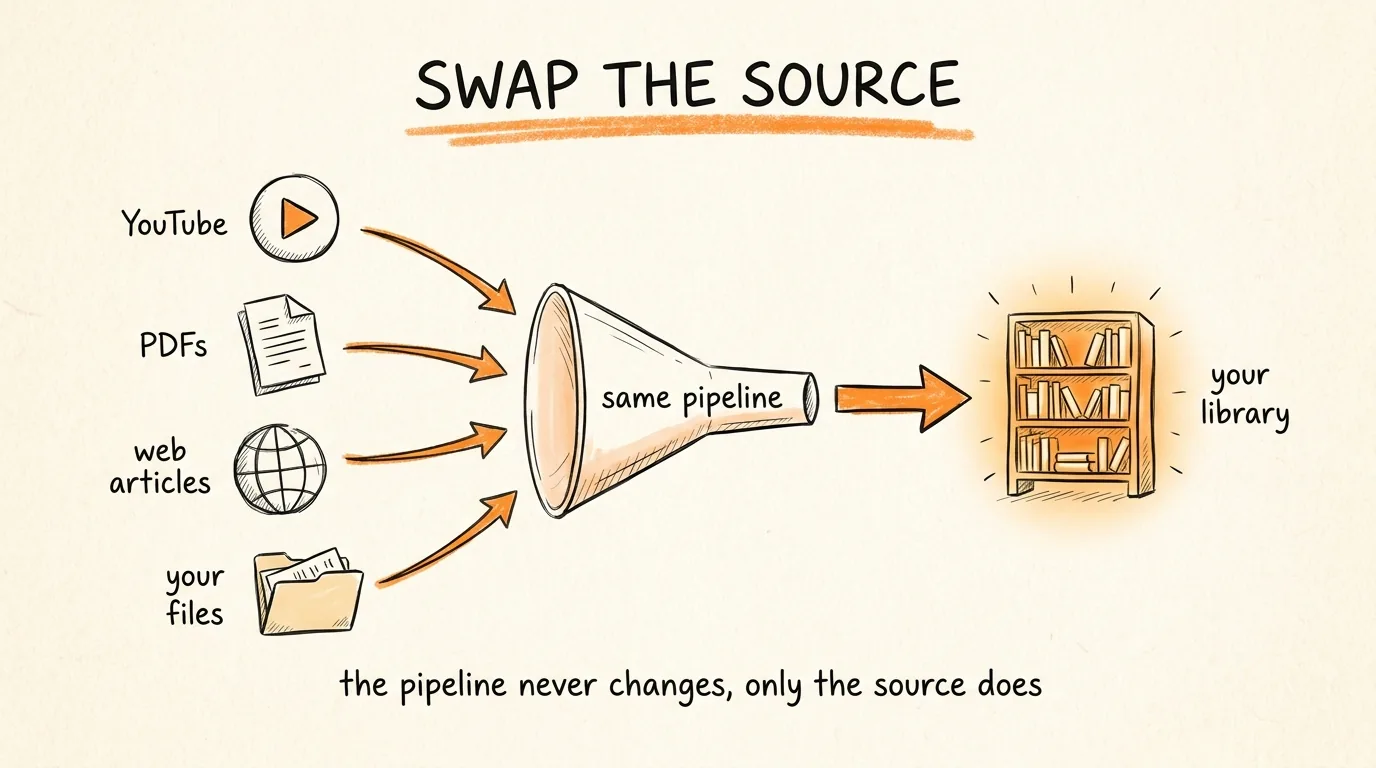
YouTube is just the example. The pipeline structure works on any source Claude Code can read: PDFs and academic papers, web articles, your own notes and transcripts, or documents in your Google Drive. Same skill pattern, swap the search step, keep everything else. Research a market with industry reports, a technology with conference talks, a content niche with what is performing. The pipeline, the analysis layer, and the memory stay identical.
Start This Week
Install Claude Code and the skill creator today, 10 minutes. Build the vault and paste the rulebook tonight. Create the three skills tomorrow, they are three pastes. Then run your first real pipeline command on a topic you actually care about, and type "compile" at the end of the week. From that point the system only moves in one direction: smarter.
Don't want to figure this out alone? I walk members through every step inside the community. Join the Skool → skool.com/raycfu