
How to Build $8K Website Scroll Animations
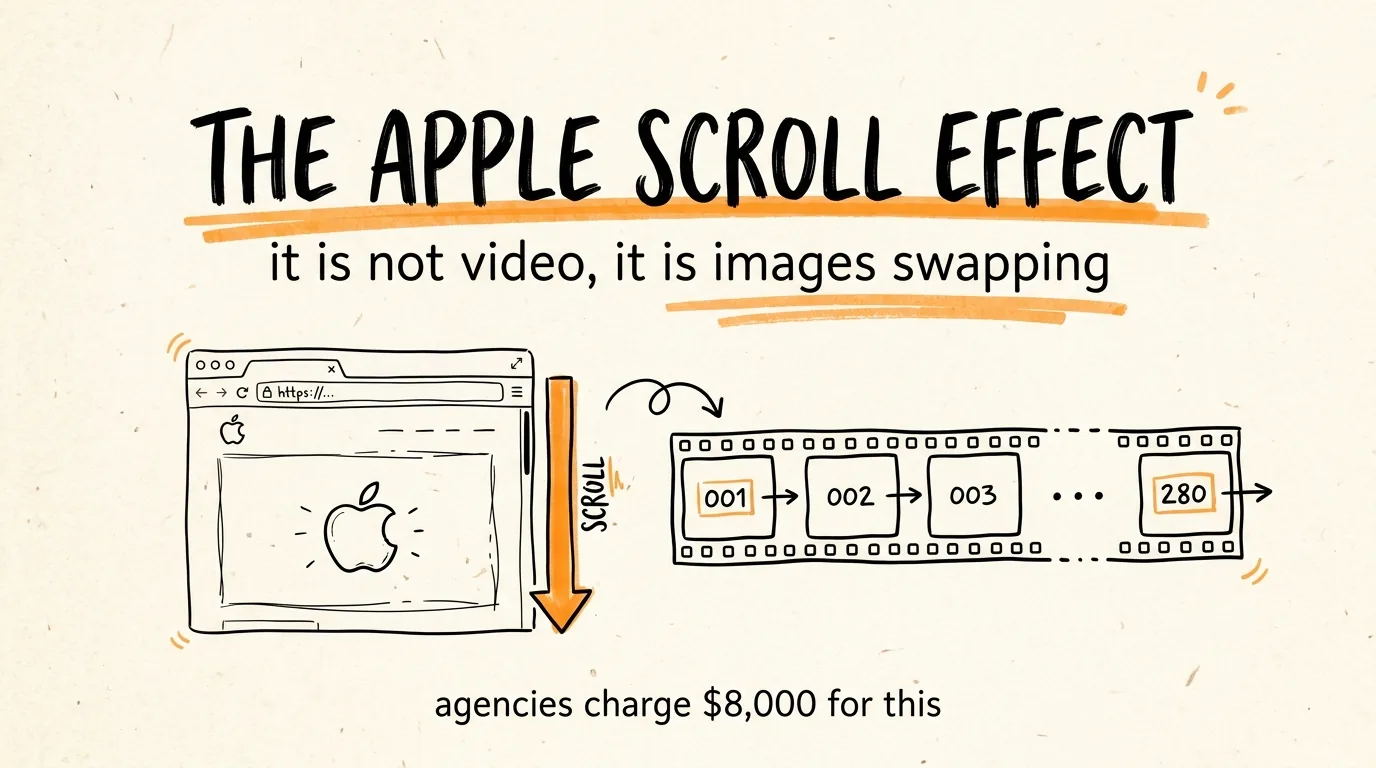
This is the full guide from the video. You are going to build the exact scroll animation effect Apple uses on their product pages, where an object rotates or transforms as you scroll down the page. Agencies charge around $8,000 for this. You are going to make one in an afternoon with three tools and one prompt.
The trick is that it is not a video and it is not 3D. It is a folder of numbered images that swap out as you scroll. Open dev tools on Apple's AirPods page and you can see it yourself, image files numbered 001 through 280, swapping frame by frame as you move down the page.
Here is how to build the same thing.
Don't want to figure this out alone? I walk members through every step inside the community. Join the Skool → skool.com/raycfu
What You Need
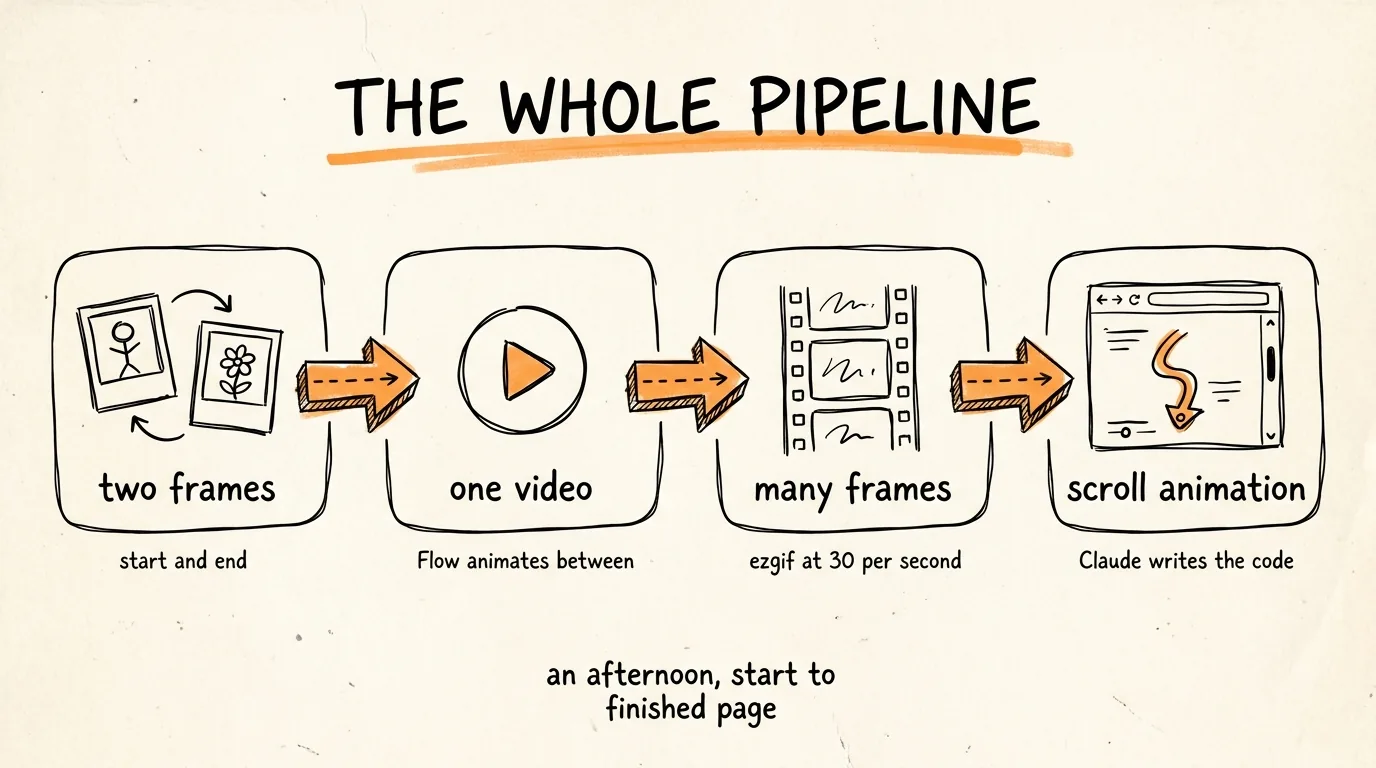
Google Flow, for generating the frames and the animation between them. Ezgif.com, a free browser tool, for turning that video into an image sequence. And Claude Code, which writes all the animation code. No design software, no 3D software, no video editor.
Step 1: Generate Your Start Frame and End Frame
Open Google Flow and use the Nano Banana image model to generate two images: where your animation starts, and where it ends.
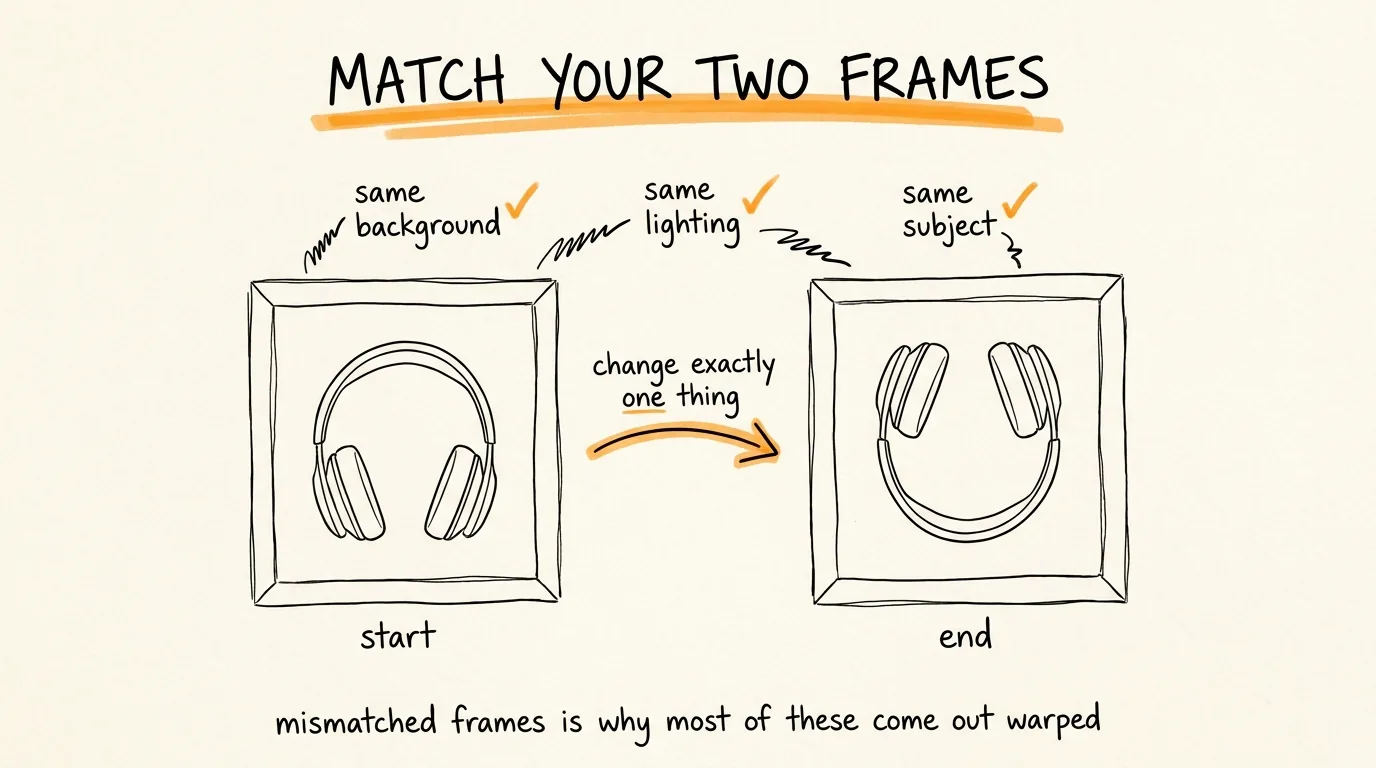
The key is that these two frames need to be the same subject, same lighting, same background, in two different positions. If they are too different, the animation between them will warp and look wrong.
Prompt them as a matched pair. For example, for a product spin:
Frame 1: A [product] photographed on a seamless [color] background, studio lighting from the upper left, centered in frame, front view facing the camera directly.
Frame 2: The exact same [product] on the exact same seamless [color] background with identical studio lighting from the upper left, centered in frame, rotated 180 degrees to show the rear view.
Same words, same background, same lighting, one change. That one change is your animation.
Good things to animate this way: a product rotating, a device opening or closing, a phone screen filling with an interface, a room lighting up, a logo assembling. Anything where the start and end are clearly the same scene.
Step 2: Let Flow Animate Between Them
In Flow, choose the frames to video option. Upload your start frame and your end frame. Flow uses Veo 3.1 to generate a smooth video that moves from the first image to the second.
Keep the clip short, 3 to 6 seconds. This is the mistake people make: a long clip means hundreds of extra frames, a heavier page, and a scroll animation that feels sluggish. Short and smooth beats long every time.
Watch the result before moving on. If the middle of the animation warps, distorts, or invents something weird, regenerate. The middle frames are the ones your visitor will spend the most time looking at, because scroll is slower than playback.
Step 3: Explode the Video Into Frames
Go to ezgif.com and use the video to image sequence tool. Upload your clip, set it to 30 frames per second, and convert. Download the result as a zip.
You now have a folder of roughly 100 to 200 numbered images. That folder is the entire animation.
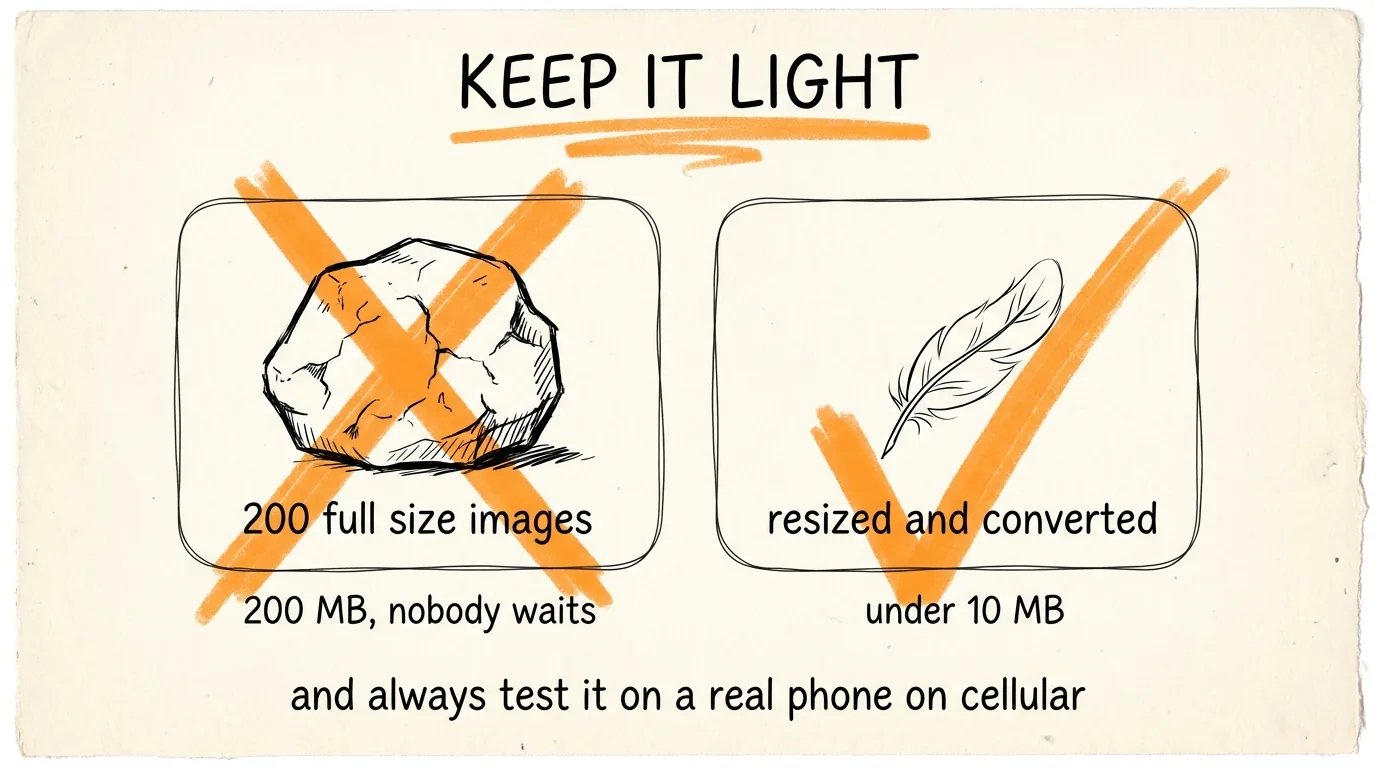
Before you build anything, do one pass on those images or your page will be unusably heavy. Two hundred full size PNGs can easily be 200 megabytes, which nobody will wait to load. Tell Claude Code:
Resize every image in this folder to 1600 pixels wide, convert them all to WebP at quality 80, keep the numbered filenames in order, and tell me the total folder size before and after.
You want the whole sequence under about 10 megabytes. If it is still heavy, drop to 24 frames per second or trim the clip a second shorter.
Step 4: Build the Scroll Animation
Drop the folder into Claude Code and paste this:
I have a folder of numbered image frames from an animation. Build me a scroll-pinned canvas animation using GSAP and ScrollTrigger that plays through the frames as the user scrolls.
Requirements:
- Draw the frames to an HTML canvas element, not an img tag, for smooth performance.
- Preload every frame before the animation becomes active, and show a simple loading state until preloading finishes.
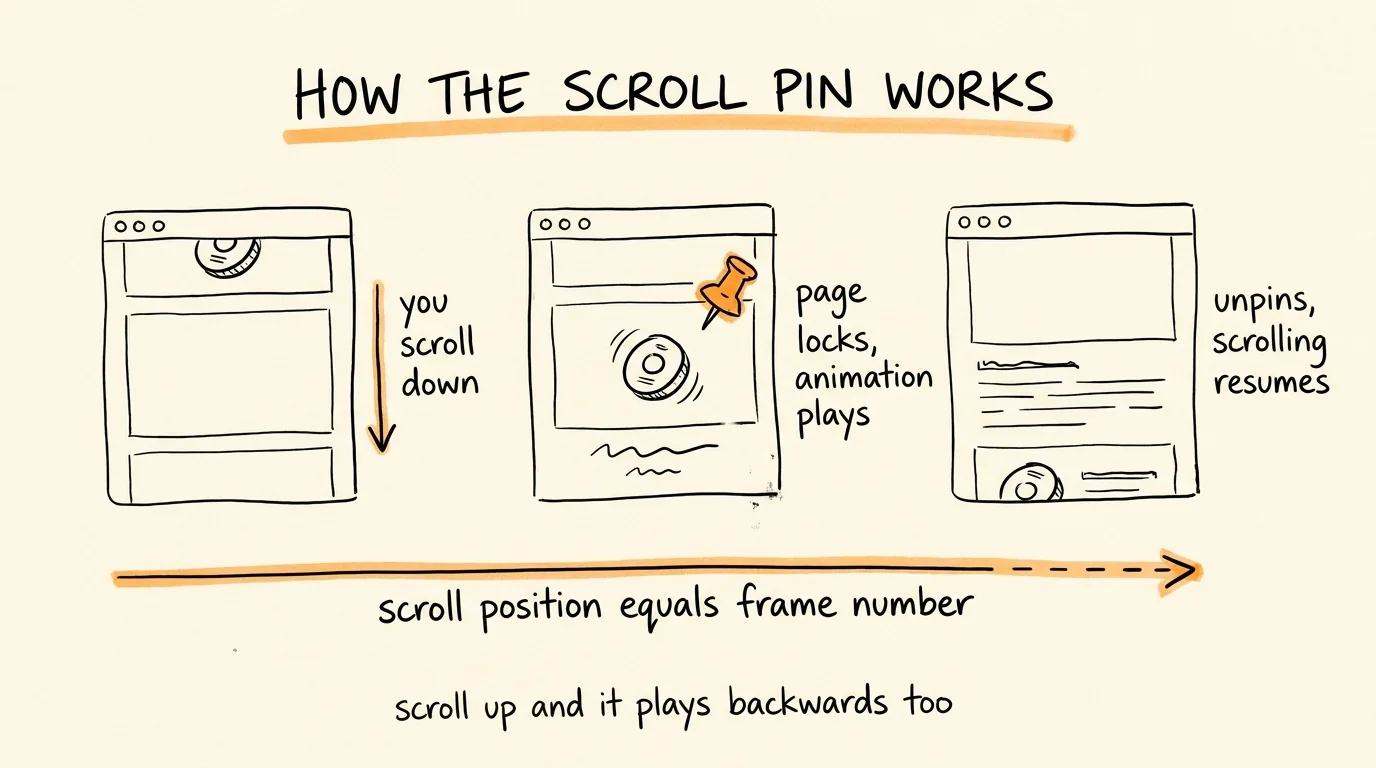
- Use ScrollTrigger to pin the section in place while the animation plays, then unpin so normal scrolling resumes after the last frame.
- Map scroll position to frame index so the animation is fully scrubbed by scroll, both directions, and scrolling back up plays it in reverse.
- Set scrub to true so the frames follow the scroll exactly rather than easing behind it.
- Size the canvas responsively and keep the subject centered on any screen width.
- On screens under 768 pixels wide, or if the user has reduced motion enabled, skip the pinned animation entirely and show a single static frame instead.
- Put a headline and subheadline overlaid on the animation that I can edit easily at the top of the file.
Give me one self-contained HTML file with the CSS and JavaScript included, with the frame count and folder path set as variables at the top so I can change them.
Claude writes the canvas setup, the preloader, the scroll-to-frame math, the pinning, and the responsive handling. Open the file in your browser and scroll. The section locks in place, your animation plays through as you move, and then the page continues normally.
That mobile fallback line is not optional. Preloading 200 images on a phone over cellular is how you build something that looks incredible on your laptop and is broken for half the people who visit.
Step 5: Turn It Into an $8K Offer
The technique is the product, but nobody buys a technique. Here is how it sells.
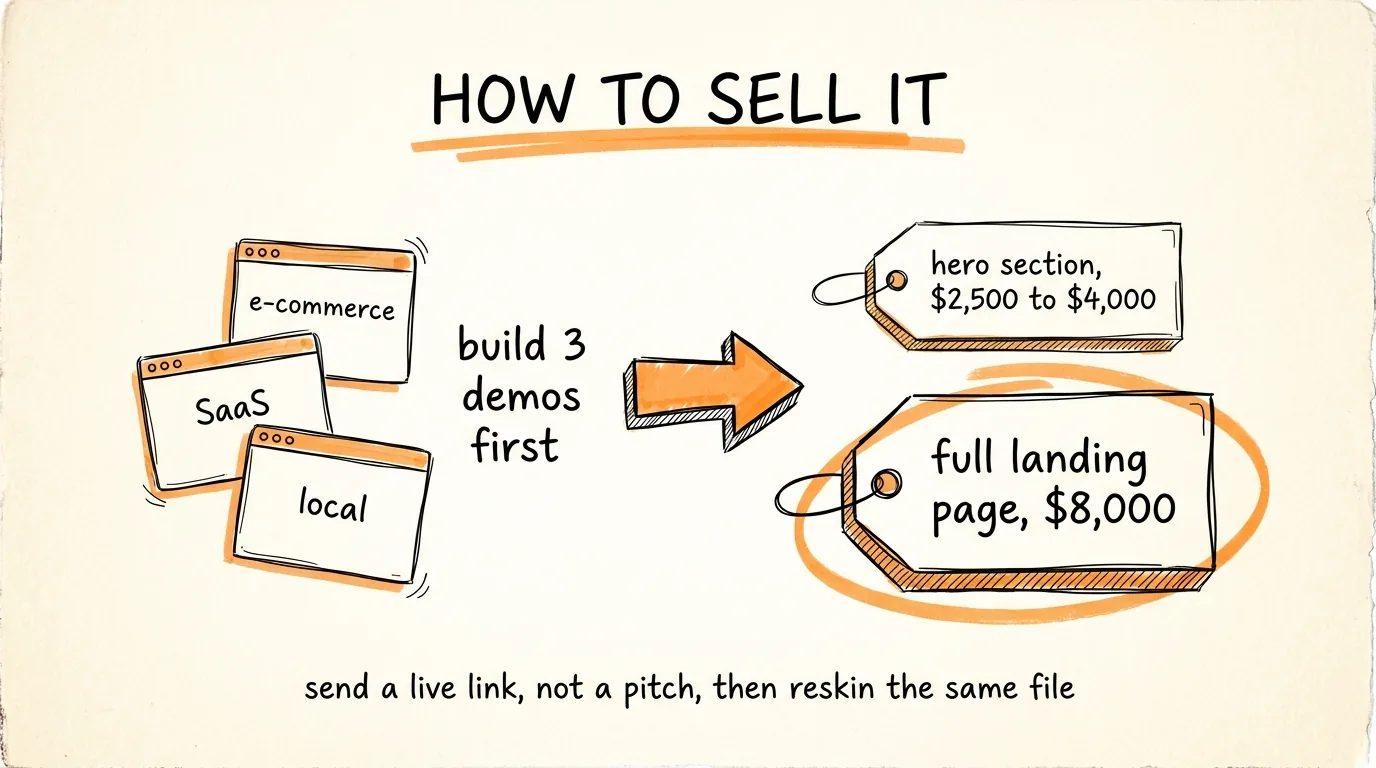
Build three demos before you talk to anyone. Pick three industries and make one hero animation each, a product spin for e-commerce, an app interface assembling for SaaS, and something physical transforming for a local business. Host them somewhere live so they are links, not descriptions.
Then find businesses whose website is fine but flat. Shopify and Amazon sellers with one hero product, Kickstarter campaigns that need to look serious, SaaS companies with a plain landing page, and anyone launching something new. The pitch is one line: "here is what your product page could look like," attached to a live link.
Price it as a hero section, not a website. One scroll animation section built into their existing page runs $2,500 to $4,000. A full landing page built around it runs $6,000 to $9,000, which is where the $8,000 lives. Three of those a year covers more than most people make from a whole side project, and each one takes you a couple of days now instead of the weeks an agency needs.
And once you have built one, every following one is faster, because the code is the same file. You change the frames, the headline, and the colors. That is the actual business, one build, endless reskins.
The Mistakes That Kill This
Too many frames. More frames does not mean smoother, it means heavier. 90 to 150 frames is plenty for a 3 to 5 second animation, and the eye cannot tell the difference at scroll speed.
Skipping the preload. If frames load as they scroll, the animation stutters and looks broken. Preload everything, show a loading state, and only then let it run.
Ignoring mobile. Test on a real phone on cellular data, not just your browser's mobile view.
Mismatched start and end frames. Ninety percent of ugly results trace back to two source images that were not the same scene.
Animating something meaningless. A rotating product sells. An abstract shape morphing for no reason is a bounce. The animation should show the thing the customer is buying.
The Recap
Generate a matched start frame and end frame in Flow. Animate between them with frames to video. Explode the clip into a numbered image sequence at 30 frames per second on ezgif. Compress the frames. Hand the folder to Claude Code with the GSAP prompt and get one HTML file back. Then build three demos, send live links to businesses with flat product pages, and price the full landing page at $8K.
Don't want to figure this out alone? I walk members through every step inside the community. Join the Skool → skool.com/raycfu